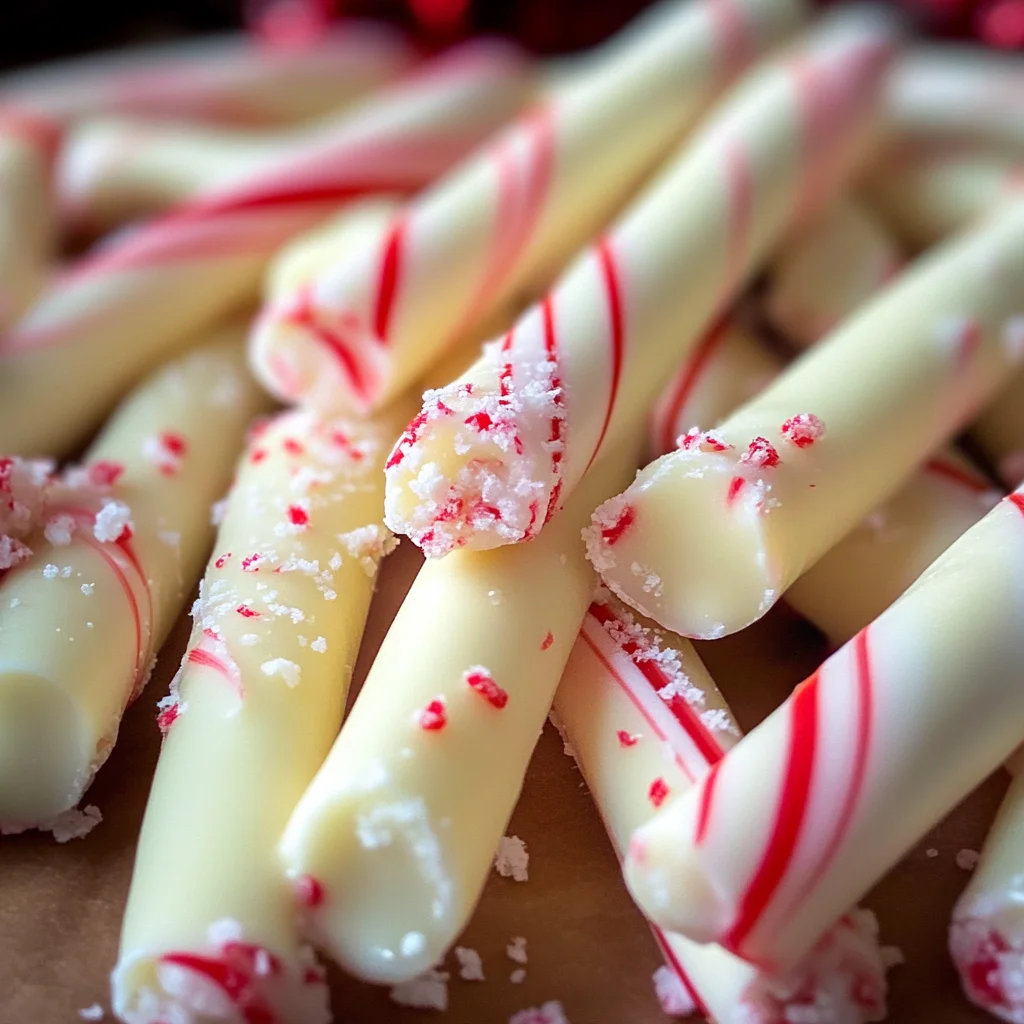
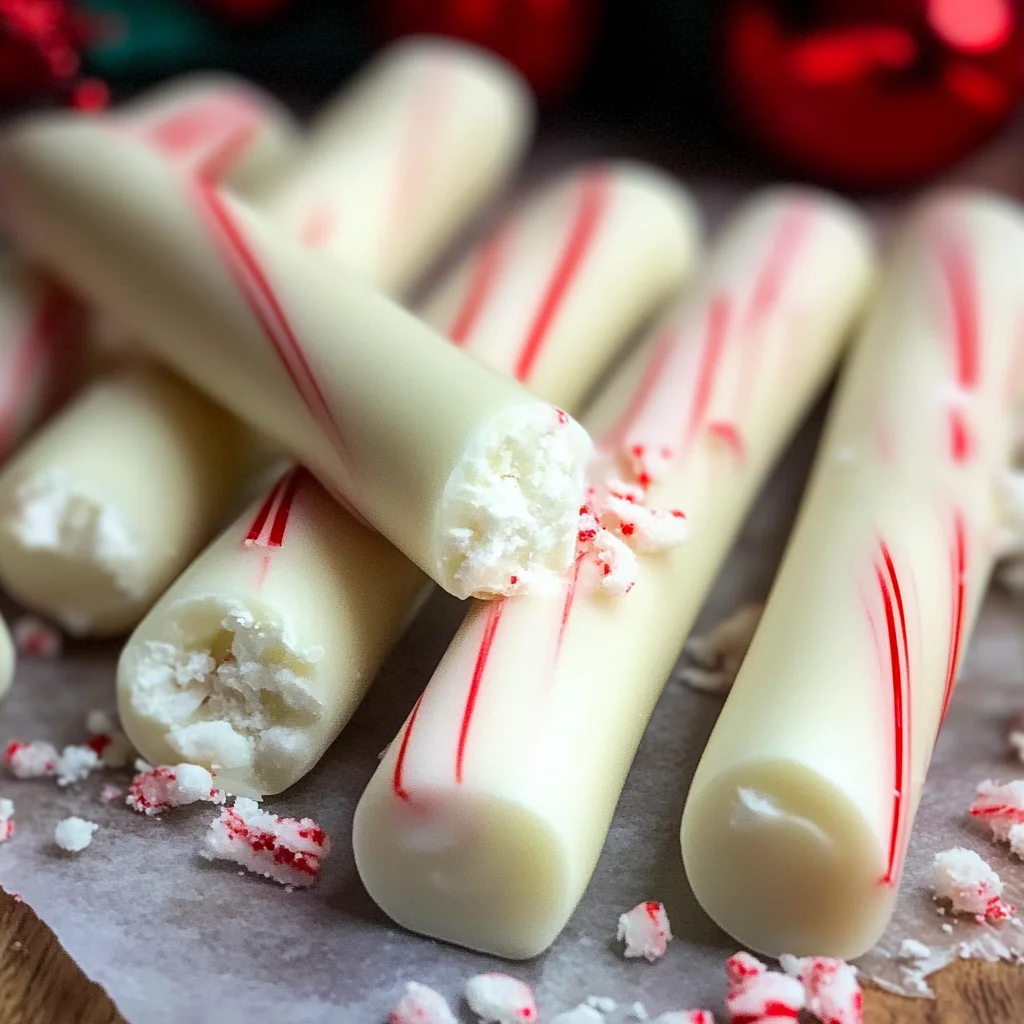
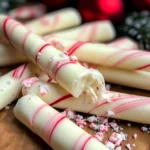
Homemade Christmas Peppermint Sticks
Homemade Christmas Peppermint Sticks are a delightful treat that adds a festive touch to any occasion. Perfect for holiday gatherings, gift-giving, or simply enjoying at home, these peppermint sticks are easy to make and will impress your friends and family. The combination of sweet white chocolate and refreshing peppermint essence creates a unique flavor that sets them apart from store-bought options.
Why You’ll Love This Recipe
- Simple Preparation: With just a few ingredients, you can whip up these delicious treats in no time.
- Festive Flavor: The blend of white chocolate and peppermint makes for a classic holiday taste.
- Versatile Gift Option: These peppermint sticks make great gifts for friends, family, or coworkers during the holiday season.
- Customizable: Feel free to experiment by adding sprinkles or drizzling chocolate on top for extra flair.
- Kid-Friendly Activity: This recipe is perfect for involving kids in the kitchen during the holidays.
Tools and Preparation
Before diving into the recipe, gather your tools to ensure a smooth cooking process. Having everything at hand makes preparation fun and efficient.
Essential Tools and Equipment
- Baking sheet
- Parchment paper
- Microwave-safe bowl
- Stirring spoon
Importance of Each Tool
- Baking sheet: Provides a flat surface for cooling your peppermint sticks after they are made.
- Parchment paper: Prevents sticking and makes cleanup easy when melting chocolate.
- Microwave-safe bowl: Essential for melting the white chocolate without damaging it.
- Stirring spoon: Necessary for mixing the melted chocolate with the peppermint essence thoroughly.
Ingredients
For the Peppermint Sticks
- 1 package of candy canes (12 pieces)
- 12 ounces of white chocolate
- 1 teaspoon peppermint essence
Servings: 4
Prep Time: 10 minutes
Cook Time: 10 minutes
Total Time: 70 minutes
How to Make Homemade Christmas Peppermint Sticks
Step 1: Prepare Your Workspace
Begin by lining your baking sheet with parchment paper. This step prevents the melted chocolate from sticking, making it easier to lift off once set.
Step 2: Melt the White Chocolate
- Place the 12 ounces of white chocolate into a microwave-safe bowl.
- Heat in the microwave in 30-second intervals, stirring after each interval until fully melted.
Step 3: Add Peppermint Essence
Once your chocolate is melted:
– Stir in 1 teaspoon of peppermint essence, ensuring it is evenly distributed throughout the melted chocolate.
Step 4: Dip Candy Canes
- Take each candy cane, one at a time, and dip it into the melted chocolate.
- Ensure it’s coated well before placing it on the prepared baking sheet.
Step 5: Let Them Set
- Allow the dipped candy canes to cool at room temperature until the chocolate hardens completely. This may take about an hour.
With these steps completed, your Homemade Christmas Peppermint Sticks will be ready to enjoy!
How to Serve Homemade Christmas Peppermint Sticks
Homemade Christmas Peppermint Sticks make for a delightful treat during the festive season. They can be served in various ways to enhance your holiday gatherings.
Festive Dessert Table
- Arrange your peppermint sticks on a decorative platter alongside other holiday sweets. This creates a beautiful and inviting display.
Gift Wrapping
- Wrap individual peppermint sticks in clear cellophane and tie them with a red ribbon. They make charming gifts for friends and family during the holidays.
Hot Beverage Garnish
- Use peppermint sticks as stirring sticks for hot cocoa or coffee. They add a festive flavor and aroma to warm beverages.
Holiday Party Favors
- Include peppermint sticks in goody bags for guests at your holiday party. It’s a sweet way to thank them for attending.
How to Perfect Homemade Christmas Peppermint Sticks
To elevate your Homemade Christmas Peppermint Sticks, consider these simple tips for perfection.
-
Use Quality Chocolate: Opt for high-quality white chocolate as it melts better and enhances the overall flavor of your peppermint sticks.
-
Chill Between Layers: After coating with chocolate, chill the sticks briefly before adding more layers or decorations. This helps the chocolate set properly.
-
Experiment with Flavors: Add different extracts like vanilla or almond along with peppermint essence for unique flavor combinations.
-
Decorate Creatively: Sprinkle crushed candy canes or colorful sprinkles on top of the chocolate while it’s still wet for an extra festive touch.
Best Side Dishes for Homemade Christmas Peppermint Sticks
Pairing side dishes with your Homemade Christmas Peppermint Sticks can create a well-rounded holiday feast. Here are some great options:
-
Gingerbread Cookies: These classic treats offer a spicy contrast to the cool taste of peppermint, making them perfect companions.
-
Chocolate Bark: A rich, sweet treat that complements the minty freshness of your peppermint sticks without overpowering their flavor.
-
Fruit Salad: A refreshing mix of seasonal fruits can balance out the sweetness of the peppermint sticks, providing a light option.
-
Cheese Platter: Include assorted cheeses like brie and gouda, which pair nicely with both sweet and savory flavors during festive gatherings.
-
Spiced Nuts: Roasted nuts seasoned with cinnamon and nutmeg bring warmth and crunch, contrasting beautifully with the softness of chocolate-covered peppermint.
-
Mini Cupcakes: Bite-sized cupcakes topped with festive frosting offer another sweet option that blends well with your homemade treats.
Common Mistakes to Avoid
When making Homemade Christmas Peppermint Sticks, it’s easy to make some common mistakes. Here’s how to avoid them:
- Skipping the cooling step: If you don’t let the sticks cool completely, they may lose their shape. Always allow enough time for them to set.
- Using low-quality chocolate: Cheap chocolate can affect the flavor. Choose good quality white chocolate for better results.
- Not measuring peppermint essence: Too much or too little can throw off the balance of flavor. Stick to the 1 teaspoon recommendation for best taste.
- Breaking candy canes too aggressively: Crushing them too hard can create dust instead of pieces. Use a gentle hand for nice-sized chunks.
- Not storing properly: Failing to store your peppermint sticks in an airtight container can lead to them becoming stale. Make sure to seal them well.
Storage & Reheating Instructions
Refrigerator Storage
- Store your Homemade Christmas Peppermint Sticks in an airtight container.
- They will last up to 2 weeks in the refrigerator.
Freezing Homemade Christmas Peppermint Sticks
- You can freeze these treats for longer storage.
- Place them in a freezer-safe container or bag, separating layers with parchment paper.
- They will keep well for up to 3 months in the freezer.
Reheating Homemade Christmas Peppermint Sticks
- Oven: Preheat your oven to low heat (around 200°F). Place the peppermint sticks on a baking sheet for just a few minutes to soften slightly before serving.
- Microwave: Heat on low power (about 10-15 seconds) if you need to slightly melt them.
- Stovetop: Use a double boiler method, placing peppermint sticks over simmering water until they soften.
Frequently Asked Questions
Here are some common questions regarding Homemade Christmas Peppermint Sticks.
Can I customize my Homemade Christmas Peppermint Sticks?
Yes! Feel free to add different flavors or colors using food coloring or additional extracts like vanilla.
How do I make my Homemade Christmas Peppermint Sticks more festive?
You can decorate them with sprinkles or drizzle colored chocolate over top before they set.
What is the best way to crush candy canes for Homemade Christmas Peppermint Sticks?
Wrap them in a clean kitchen towel and gently crush with a rolling pin for controlled sizes.
How long do Homemade Christmas Peppermint Sticks last?
When stored properly, they can last up to two weeks in the refrigerator and three months in the freezer.
Final Thoughts
Homemade Christmas Peppermint Sticks are not only easy to make but also bring festive cheer wherever they go. With simple ingredients and lots of customization options, you can create a delightful treat that everyone will enjoy. Try different flavorings or decorations to make this recipe uniquely yours!
Homemade Christmas Peppermint Sticks
Indulge in the festive spirit with Homemade Christmas Peppermint Sticks, a delightful treat that combines creamy white chocolate and refreshing peppermint essence. These easy-to-make sweets are perfect for holiday gatherings, thoughtful gifts, or simply enjoying at home. With their beautiful presentation and customizable features, they’re sure to impress friends and family alike. Whether you enjoy them straight from the tray or use them to garnish hot cocoa, these peppermint sticks bring joy to any occasion.
- Prep Time: 10 minutes
- Cook Time: 10 minutes
- Total Time: 20 minutes
- Yield: 4 servings 1x
- Category: Dessert
- Method: Baking
- Cuisine: American
Ingredients
- 1 package of candy canes (12 pieces)
- 12 ounces of white chocolate
- 1 teaspoon peppermint essence
Instructions
- Line a baking sheet with parchment paper.
- In a microwave-safe bowl, melt the white chocolate in 30-second intervals, stirring until smooth.
- Stir in the peppermint essence until well combined.
- Dip each candy cane into the melted chocolate, ensuring even coverage, then place it on the prepared baking sheet.
- Allow the candy canes to cool at room temperature until the chocolate hardens completely (about 1 hour).
Nutrition
- Serving Size: 1 serving
- Calories: 100
- Sugar: 12g
- Sodium: 10mg
- Fat: 5g
- Saturated Fat: 3g
- Unsaturated Fat: 2g
- Trans Fat: 0g
- Carbohydrates: 11g
- Fiber: 0g
- Protein: 1g
- Cholesterol: 0mg